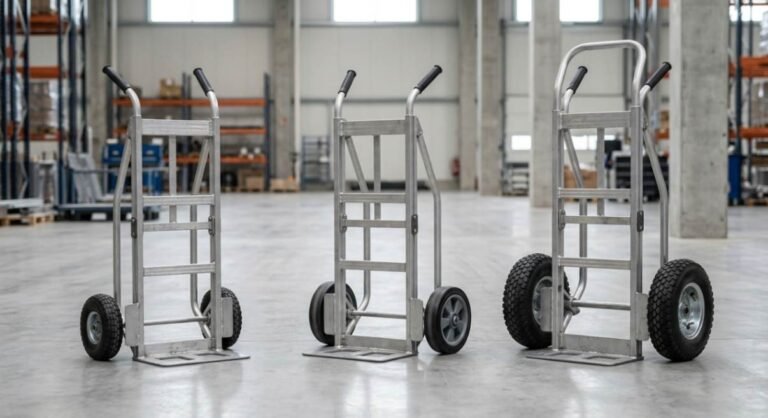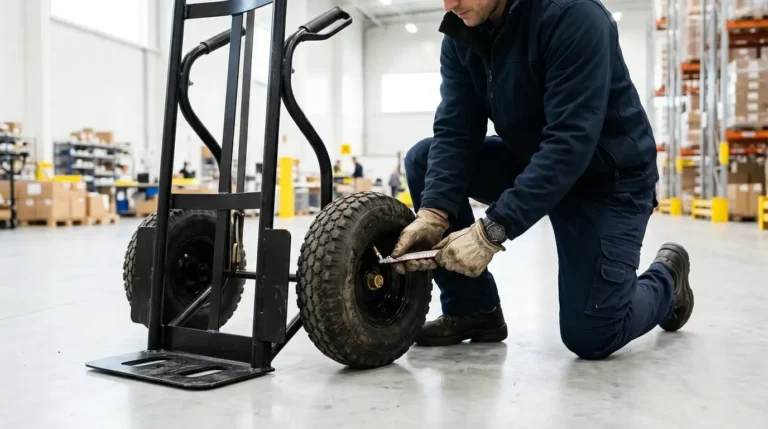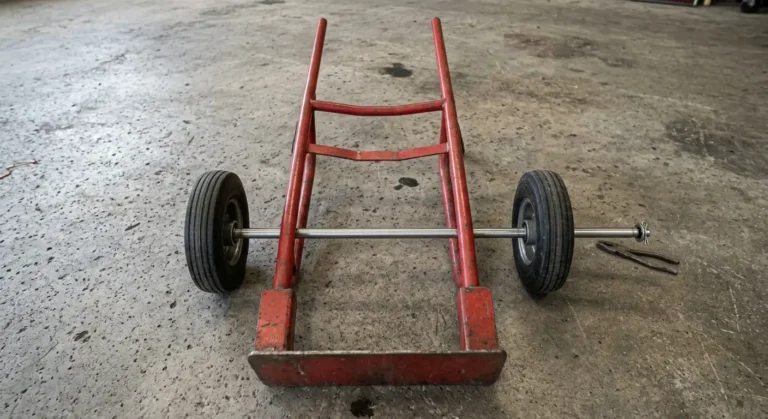

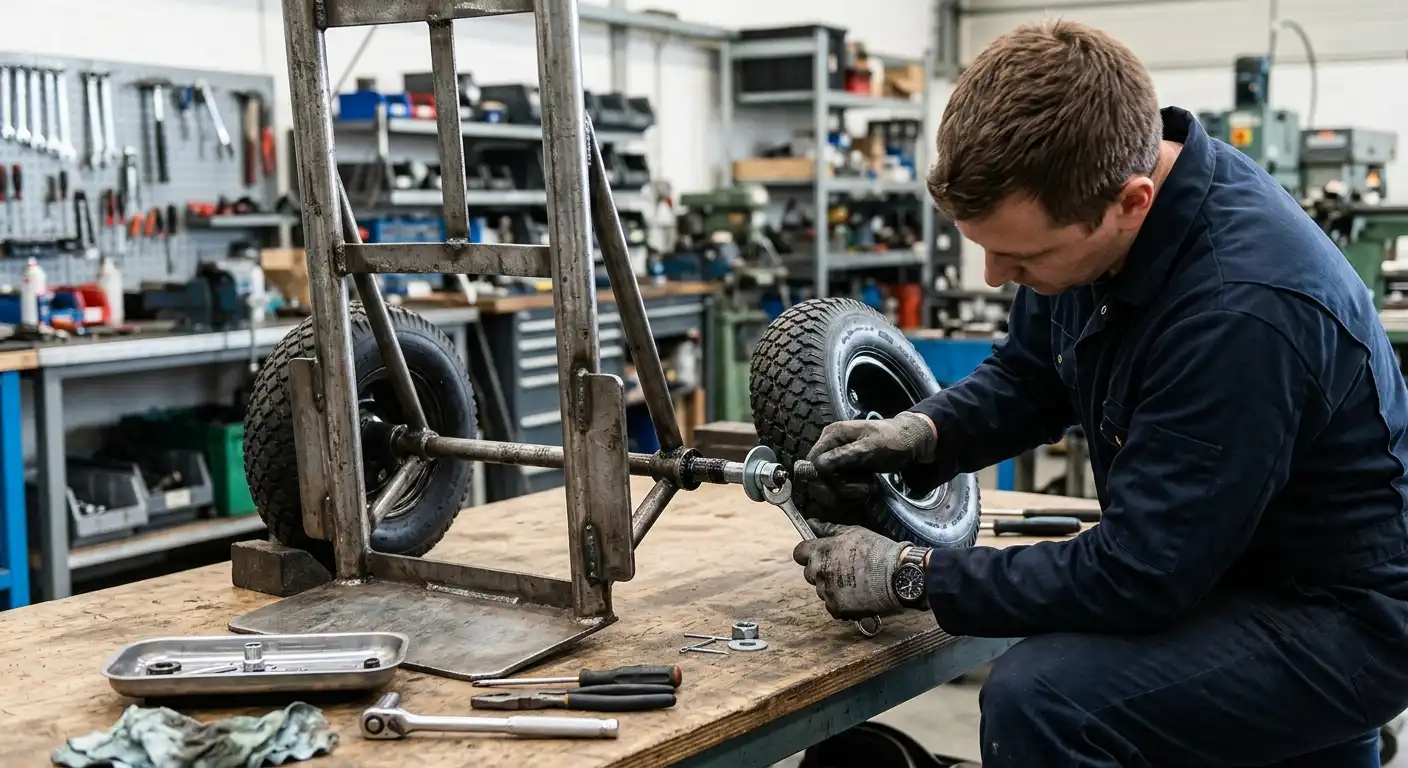
Changing a damaged or flat tire on a hand truck is a straightforward task you can handle with basic hand tools. A worn tire makes moving heavy loads difficult and can damage your equipment or floor surfaces.
To replace your hand truck tire successfully, you must first determine whether you need to swap the complete wheel assembly or replace only the rubber tire on the existing rim. The exact removal and installation steps depend on how your hand truck secures the wheel to the axle. Some models use cotter pins, while others use axle caps, retaining rings, or lock nuts. Following the correct procedure ensures your equipment rolls smoothly and remains safe under heavy loads.
What You Need to Change a Hand Truck Tire?
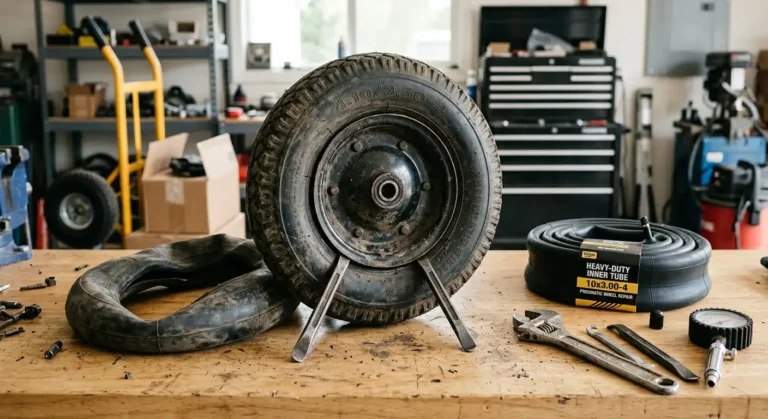
Having the right tools ready before you begin makes the replacement process faster and safer. Because different hand truck manufacturers use different wheel retention systems, your exact tool list will vary depending on your specific model.
Common tools and equipment include:
- Pliers (needle-nose or slip-joint for removing cotter pins and retaining clips)
- An adjustable wrench or socket set (for threaded nuts and axle bolts)
- A flat-head screwdriver (useful for prying axle caps or retaining rings)
- A rubber mallet (to help tap stubborn components into place without damaging metal)
- Work gloves to protect your hands from sharp edges, dirt, and pinch points
- Safety glasses for eye protection
- The correct replacement wheel, tire, or inner tube
Always match your replacement parts directly to your hand truck model before taking the old wheel off the axle.
Check the Replacement Tire Before Removing the Old One
Before you take your hand truck apart, confirm that your new tire or wheel assembly matches the specifications of your existing equipment. A replacement wheel might look identical at a quick glance but fail to fit properly on the axle or carry the required weight.
Check the following specifications on both the old tire and your replacement:
- Tire Diameter: Measure the total height of the tire from top to bottom.
- Tire Width: Check the width across the tread.
- Rim Size: Verify the diameter of the central metal or plastic wheel.
- Axle Bore Diameter: Measure the inner hole of the wheel hub where the axle slides through (common sizes include 5/8 inch, 1/2 inch, and 3/4 inch, though your model may vary).
- Hub Width and Offset: Check the length of the hub from side to side and whether it sits centered or offset on the rim.
- Load Capacity: Confirm the replacement tire supports the maximum rated weight capacity of your hand truck frame.
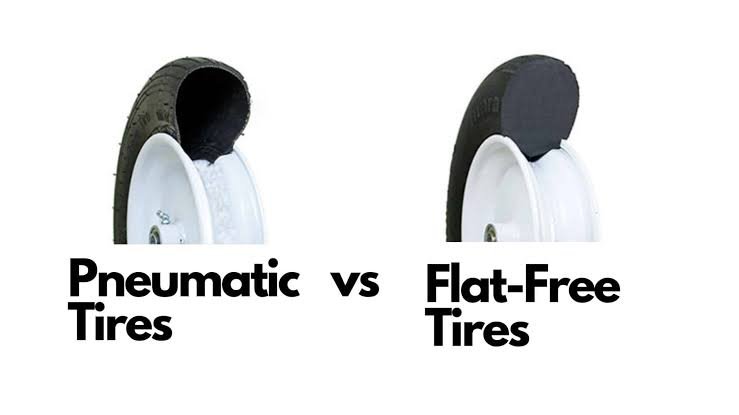
- Tire Construction: Verify whether you are installing a pneumatic air-filled tire or a solid, flat-free polyurethane tire.
Read the tire sidewall markings, check your owner manual, or inspect the manufacturer part number to ensure total compatibility. For detailed size cross-referencing, review our hand truck wheel size guide.
How to Change a Hand Truck Tire?
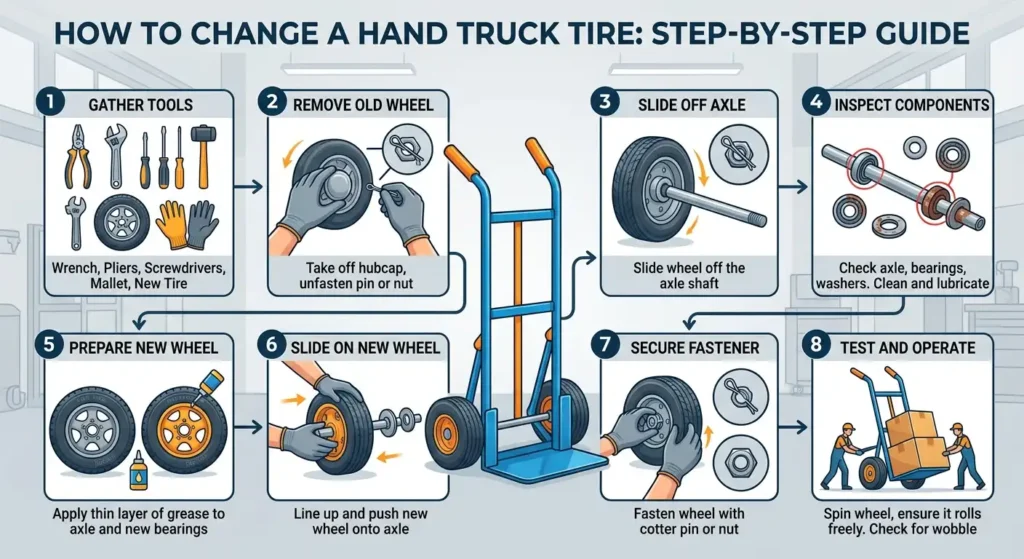
Follow these step-by-step instructions to safely remove the old wheel and install your new hand truck tire assembly.
1. Empty and Stabilize the Hand Truck
Never attempt to change a wheel while the hand truck carries cargo.
- Remove all items from the toe plate and frame.
- Move the hand truck to a flat, dry, and stable work surface such as a garage floor or sturdy workbench.
- Lay the hand truck flat on its back or position it securely on its side so the wheel you need to replace faces upward and remains completely accessible.
- Put on your work gloves and eye protection. Make sure the frame cannot shift or drop while you work.
2. Identify and Remove the Wheel Retainer
Examine the end of the axle to identify how the manufacturer secured the wheel in place. Hand trucks use several distinct retention methods:
- Cotter Pin: Straighten the bent legs of the pin using your pliers, then pull the pin straight out of the hole in the axle.
- Axle Cap (Push Nut): Carefully pry the cap off using a flat-head screwdriver, working around the edges evenly. Some push nuts are single-use components and must be replaced after removal.
- Retaining Ring (Snap Ring): Use snap-ring pliers or a small screwdriver to spread the ring and slide it out of the axle groove.
- Lock Nut or Standard Nut: Hold the axle steady and loosen the nut with an appropriate wrench or socket.
Keep the retaining hardware in a clean tray so you do not misplace small parts. If the manufacturer states that a retaining component cannot be reused, discard it and prepare a new replacement.
3. Remove the Old Wheel
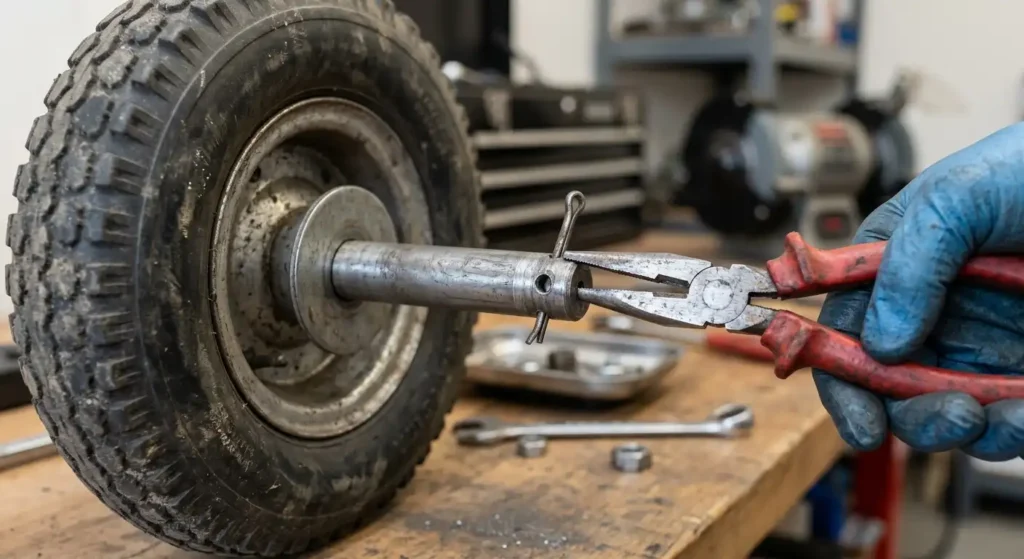
Once you remove the retaining fastener, slide the old wheel assembly off the axle shaft.
- Take note of any washers or spacers located on either side of the wheel hub.
- Keep all spacers, washers, and shims in their exact order of removal.
- Slide the wheel straight off the axle without cocking it sideways.
If the wheel resists or feels stuck, do not hit it forcefully with a heavy metal hammer. Penetrating lubricant applied around the hub and axle can help loosen built-up grime, rust, or corrosion. Allow the lubricant to sit for several minutes before attempting to slide the wheel off again. If the bearing is completely seized or the axle is deformed, forcing it can bend the frame. In severe cases, consult the manufacturer or a repair professional.
4. Inspect the Axle and Hardware
With the wheel removed, carefully inspect the bare axle shaft and remaining hardware components:
- Check that the axle shaft is straight and free of deep gouges or bends.
- Wipe away dirt, grit, and old grease using a clean rag.
- Look for rust or corrosion along the contact surfaces.
- Inspect the washers and spacers for cracks, thinning, or warping.
- Check that the axle threads or cotter pin holes are intact and clean.
Installing a new wheel on a bent axle or against broken hardware will cause premature wear, wheel wobble, and unsafe handling. Replace damaged hardware before proceeding.
5. Install the New Wheel or Tire Assembly
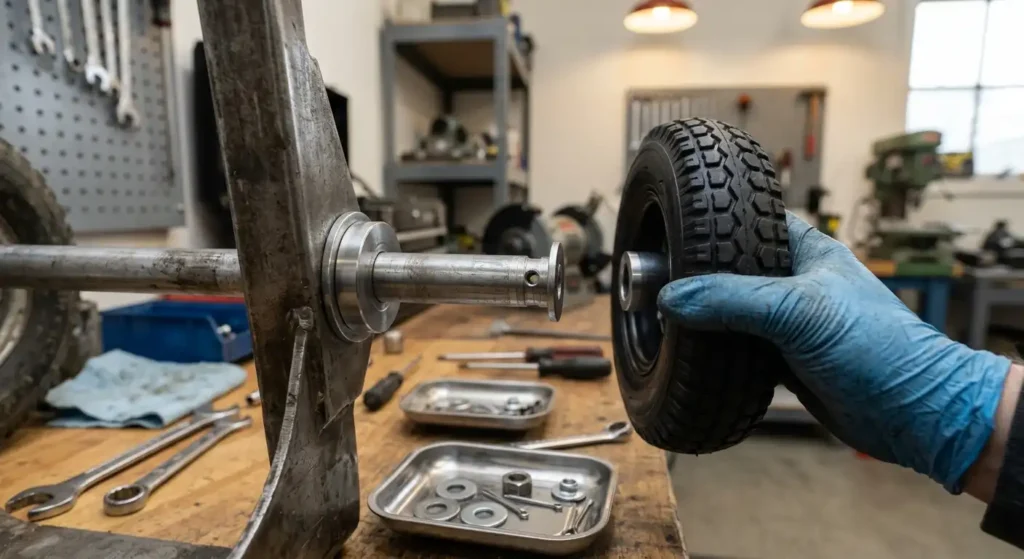
Apply a light coat of general-purpose machine grease or silicone lubricant to the clean axle to prevent future corrosion and facilitate smooth bearing rotation.
- Slide the inner washer or spacer onto the axle in its original position.
- Align the replacement wheel with the axle, ensuring the valve stem on pneumatic models faces outward for easy air access.
- Slide the wheel fully onto the axle shaft until it rests against the inner spacer.
- Place the outer washer or spacer onto the axle shaft against the outside face of the wheel hub.
6. Secure the Wheel
Reinstall the retaining hardware to hold the wheel in position:
- For Cotter Pins: Insert a new or undamaged cotter pin through the axle hole and bend the ends apart around the axle shaft using pliers to prevent the pin from backing out.
- For Axle Caps: Press the cap firmly onto the end of the axle, tapping it gently with a rubber mallet until it seats completely against the outer stop.
- For Retaining Rings: Slide the ring into the designated axle groove and ensure it clicks fully into place around the entire circumference.
- For Threaded Nuts: Tighten the nut until snug, then verify that the wheel still turns freely. Do not overtighten, as excessive clamping force can bind the wheel bearings. Follow any torque specifications listed in your hand truck manual.
7. Test the New Wheel
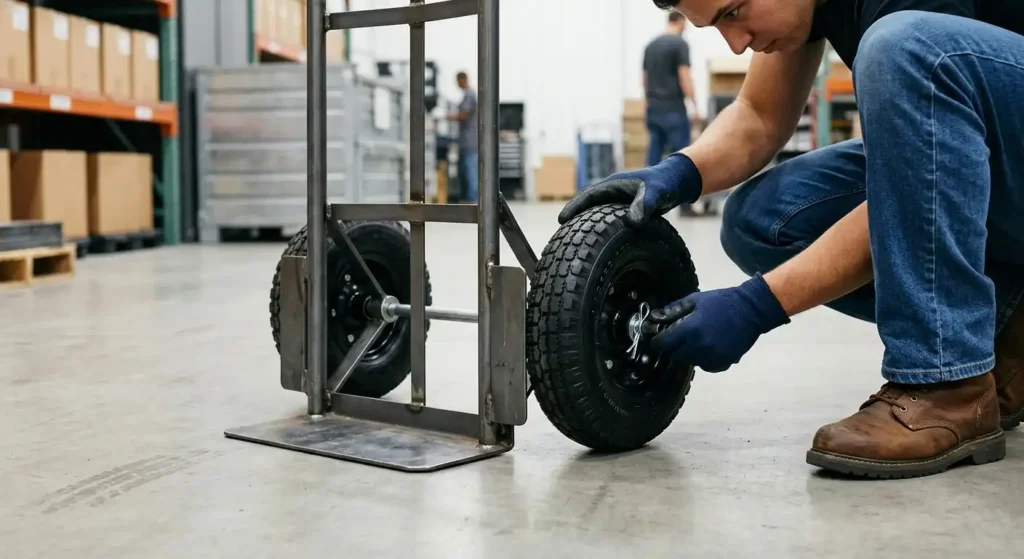
Before putting your hand truck back to work, test the installation thoroughly:
- Spin the wheel by hand. It should rotate freely and smoothly without grinding, sticking, or significant side-to-side wobble.
- Check that the wheel does not rub against the hand truck frame, stair climbers, or fenders.
- Stand the hand truck up and push it across an empty floor to confirm normal tracking.
- Place a moderate load on the hand truck and test it again. Confirm that the wheel supports weight without binding or shifting on the axle.
Never exceed the maximum rated load capacity of your equipment. Learn more about safe operation in our guide on how to use a hand truck safely.
How to Change a Pneumatic Hand Truck Tire?
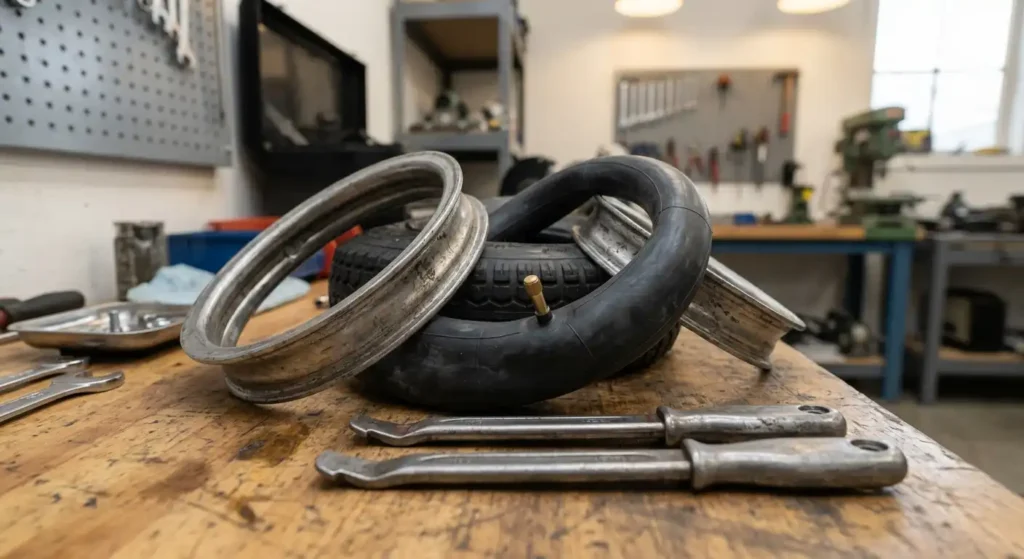
Replacing a complete wheel assembly is the quickest way to fix a hand truck, but you can also replace just the rubber tire or inner tube on an existing rim.
When working on a pneumatic wheel:
- Remove the entire wheel assembly from the hand truck axle.
- Depress the valve stem core to release all remaining air pressure completely.
- If the wheel uses a split-rim (two halves bolted together), unbolt the rim halves to release the tire and tube easily.
- If the wheel uses a single-piece solid rim, use tire spoons or rounded pry tools to work the tire bead over the edge of the rim. Avoid using sharp screwdrivers that can puncture the tube or gouge the rim.
- Remove the old tire and pull out the inner tube. Inspect the inside of the rim for rust, sharp edges, or debris that could puncture a new tube.
- Insert the new inner tube into the replacement tire with a slight amount of air to give it shape.
- Position the tire and tube onto the rim, feeding the valve stem cleanly through the rim hole.
- Work the outer tire bead over the rim flange, taking care not to pinch the tube between the tire and rim.
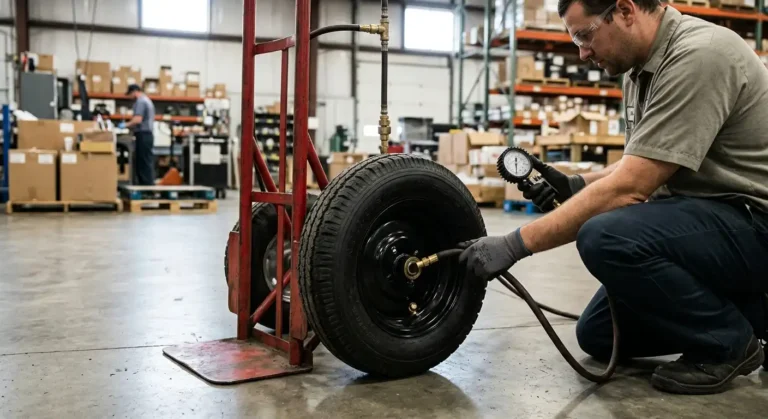
- Inflate the tire using a manual hand pump or regulated air source to the specific pressure marked on the tire sidewall. Verify that the tire bead seats evenly around the entire rim circumference.
How to Change a Flat Free Hand Truck Tire?
Flat-free tires are made of solid rubber, polyurethane foam, or semi-pneumatic compounds that never lose air. Because flat-free tires cannot be easily stretched over standard rims at home, replacing a flat-free tire usually means replacing the complete wheel assembly.
To change a flat-free wheel:
- Remove the retaining hardware, outer washer, and damaged solid wheel from the axle.
- Compare the hub length and bearing size of the new flat-free wheel to the old unit.
- Ensure you have the correct spacers or bushings installed if your replacement wheel kit includes adapters for multiple axle diameters.
- Slide the new solid wheel assembly onto the axle, add the outer washer, and secure it with the retaining pin or cap.
To compare the operational benefits of solid and air-filled options, see our detailed guide on pneumatic vs flat free tires.
How to Know What Size Hand Truck Tire You Need?
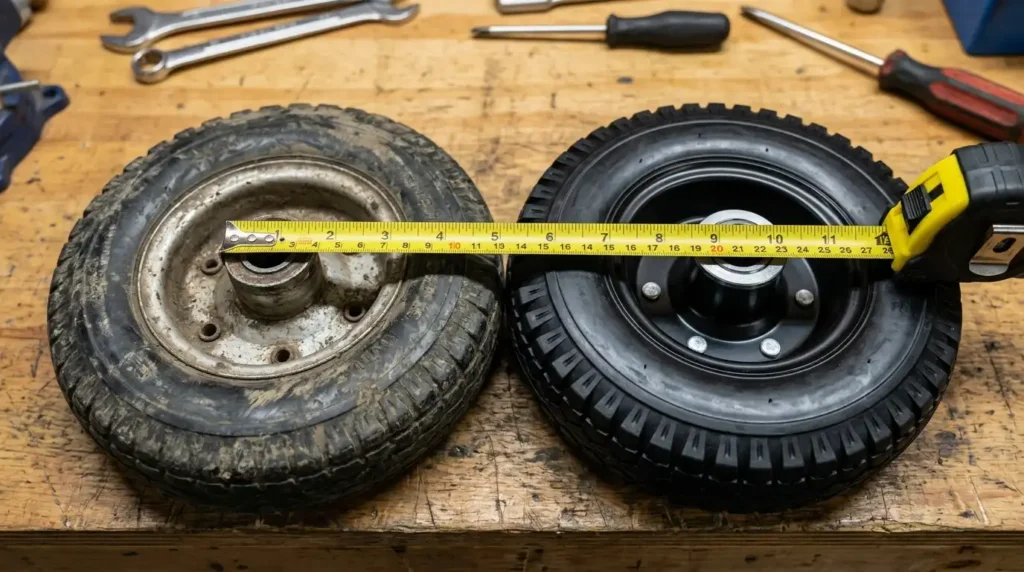
To find the correct replacement tire, read the size numbers stamped directly onto the sidewall of your existing tire. Common hand truck tire sizes are formatted in one of two ways:
- Two-Number System (e.g., 4.10/3.50-4): The first numbers represent the approximate tire section width, and the final number indicates the rim diameter in inches.
- Three-Number System (e.g., 10×4.10-4 or 10×3.50-4): The first number is the overall outside tire diameter, the second is the tire width, and the third is the rim diameter.
In addition to tire dimensions, you must measure your hand truck axle diameter and hub length. A replacement wheel must have bearings that match your axle thickness and a hub that fits the available axle space between the frame and the retaining hardware.
Common Problems When Changing a Hand Truck Tire
| Issue | Potential Cause | Practical Solution |
| The old wheel will not slide off the axle | Rust, dried grease, dirt buildup, or a burr on the axle | Apply penetrating oil around the hub. Let it soak for 15 minutes, then twist gently by hand. File down minor metal burrs on the axle tip if necessary. |
| The replacement wheel does not fit | Wrong axle bore size, incorrect hub offset, or incorrect hub width | Check the inner bearing diameter and hub length against your old wheel. Use adapter bushings or adjust spacer washers if compatible. |
| The new wheel wobbles excessively | Missing spacer washer, loose axle nut, or worn bearings | Add the correct thickness washer to eliminate side play. Ensure the axle nut or retaining clip sits fully in place. |
| The pneumatic tire loses air after installation | Pinched inner tube, faulty valve core, or rim corrosion | Check the valve stem with soapy water for leaks. Disassemble the tire to inspect the tube for pinches or replace the valve core. |
When Should You Replace a Hand Truck Tire?
Replace your hand truck tires whenever you notice visible signs of structural wear or functional failure:
- Deep cracks, dry rot, or weather checking on the sidewall
- Tread worn smooth, exposing the underlying cords or fabric
- Flat spots caused by dragging or prolonged heavy storage
- Frequent loss of air pressure that cannot be resolved with valve tightening
- Cracked plastic or bent metal wheel rims
- Rough, noisy, or seized hub bearings that resist rotation
Regular inspection prevents sudden wheel failure while transporting heavy items. For more maintenance advice, read our article on how to replace hand truck wheels.
Safety Tips When Changing a Hand Truck Tire
- Always unload the hand truck completely before starting maintenance.
- Work on a clean, level surface to keep the frame stable.
- Wear durable work gloves to guard against sharp edges and pinch points.
- Never inflate a pneumatic tire beyond the maximum pressure listed on the tire sidewall.
- Never use a damaged, cracked, or worn cotter pin or retaining clip.
- Ensure all washers and spacers are positioned correctly so the wheel cannot shift under load.
- Do not exceed the hand truck frame load capacity, even if the new tires carry a higher rating. Refer to our hand truck weight capacity guide for details.
- Test the hand truck unloaded before putting it back into daily operation.
Frequently Asked Questions
Yes. Replacing a hand truck tire or complete wheel assembly is a simple DIY task that requires only basic hand tools like pliers, a wrench, and a screwdriver. As long as you match the replacement wheel to your axle and hub size, the installation takes only a few minutes.
Read the size numbers printed on the sidewall of your existing tire, such as 4.10/3.50-4 or 10×3.50-4. You must also measure the axle diameter and the hub width to ensure the replacement wheel slides onto the axle and fits inside the retaining hardware properly.
Yes, on pneumatic models you can replace just the rubber tire or inner tube. However, purchasing a complete wheel assembly with pre-installed bearings and rim is often faster and avoids the labor of unseating the tire bead from the rim.
Stabilize the unloaded hand truck on its side. Remove the retaining hardware at the axle tip, such as a cotter pin, axle cap, or nut. Slide off the outer washer, then pull the wheel straight off the axle shaft. Keep all spacers and washers organized for reassembly.
If the tire has an inner tube, you can patch or replace the tube. Small punctures in tubeless tires can sometimes be plugged. However, if the tire sidewall is cracked, dry-rotted, or structurally damaged, replacing the tire or complete wheel assembly is the safest option.
Hand truck tires do not have a fixed expiration date. Replace them whenever you observe dry rot, deep cracking, tread separation, bearing failure, or repeated air leaks. Regular visual checks will tell you when a tire is no longer safe to carry loads.
Excessive wobble is usually caused by missing spacer washers on the axle, incorrect bearing bore size, a loose axle nut, or a bent axle shaft. Ensure the hub fits your axle diameter snugly and add washers to eliminate excessive side-to-side play.