
To change an inner tube on a hand truck, remove the wheel from the axle and deflate the tire completely. Pry one tire bead over the rim edge using rounded tire levers, pull out the punctured tube, and clear any debris inside the tire. Insert the matching new tube, remount the tire bead, and inflate to the sidewall specification.
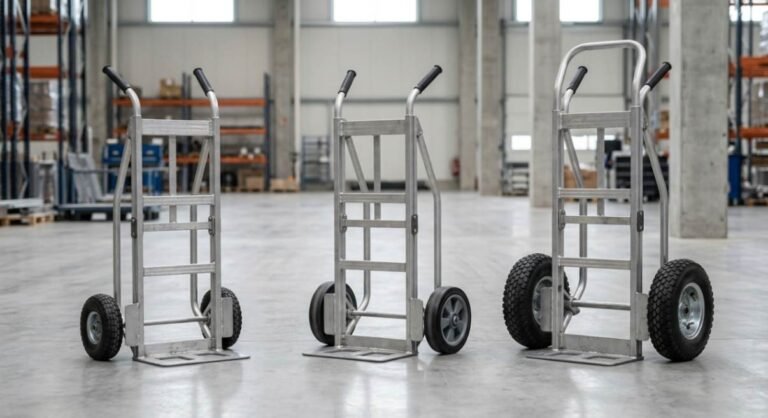
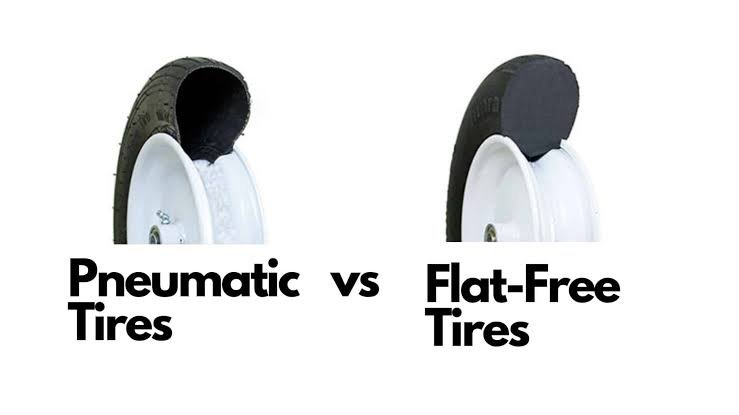
Inner tubes are common on tube type pneumatic wheels. Solid and foam filled tires never use inner tubes. If you are deciding between different wheel setups for your equipment, comparing pneumatic and flat free hand truck tires can help you choose the right style. When your pneumatic tire goes flat, replacing the inner tube gets your hand truck back to work quickly.
What You Need to Change a Hand Truck Inner Tube?
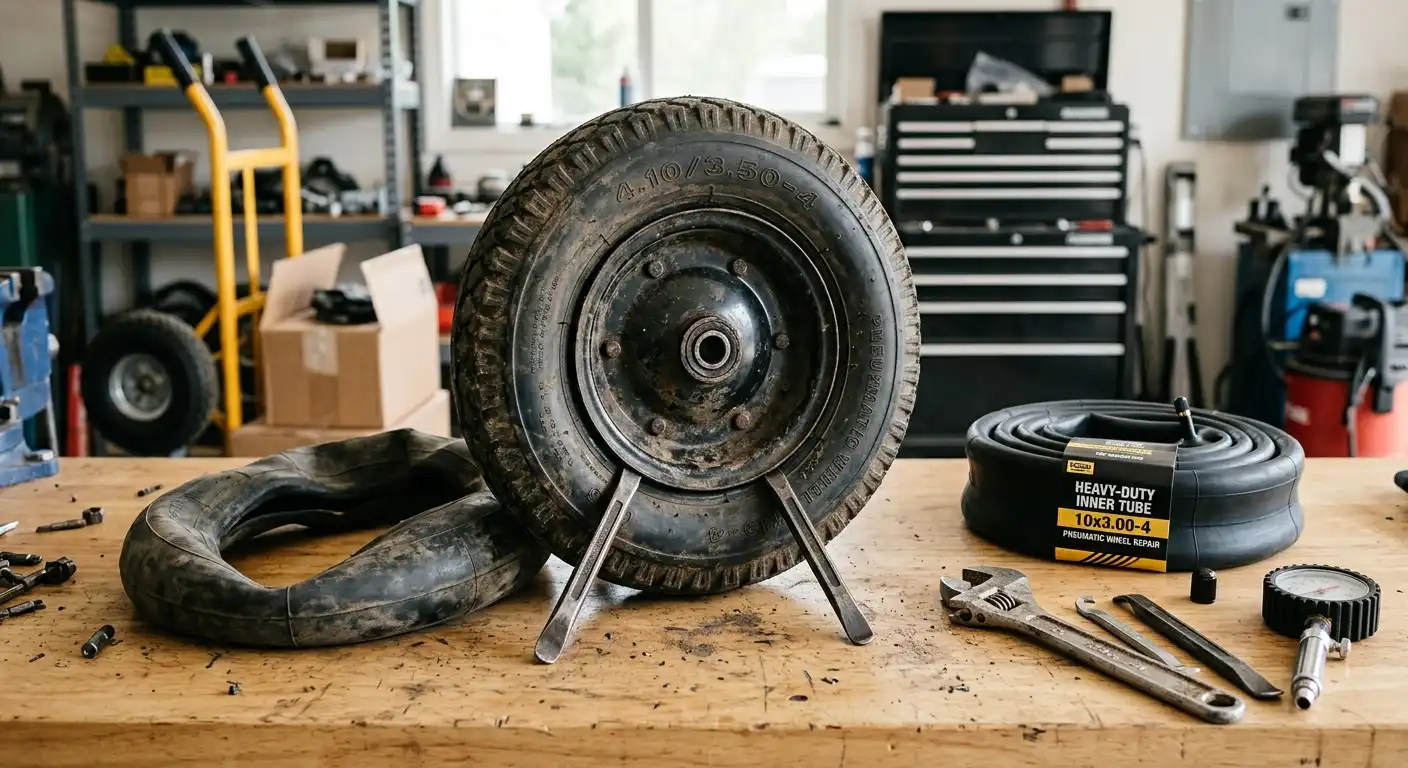
Having the right tools ready makes the job simple:
- Matching replacement inner tube
- Two rounded tire levers or dull pry bars
- Wrenches, sockets, or pliers for wheel hardware
- Tire pressure gauge
- Hand pump or regulated air source
- Work gloves and safety glasses
- Clean rag
Different hand trucks use different wheel designs. Some rims split into two halves with bolts, while others use a solid one piece rim. Check your wheel style and confirm that the replacement tube matches the tire size and valve stem angle before you begin.
How to Change an Inner Tube on a Hand Truck?
Take your time during each step. Rushing the installation can pinch the rubber and cause another flat tire.
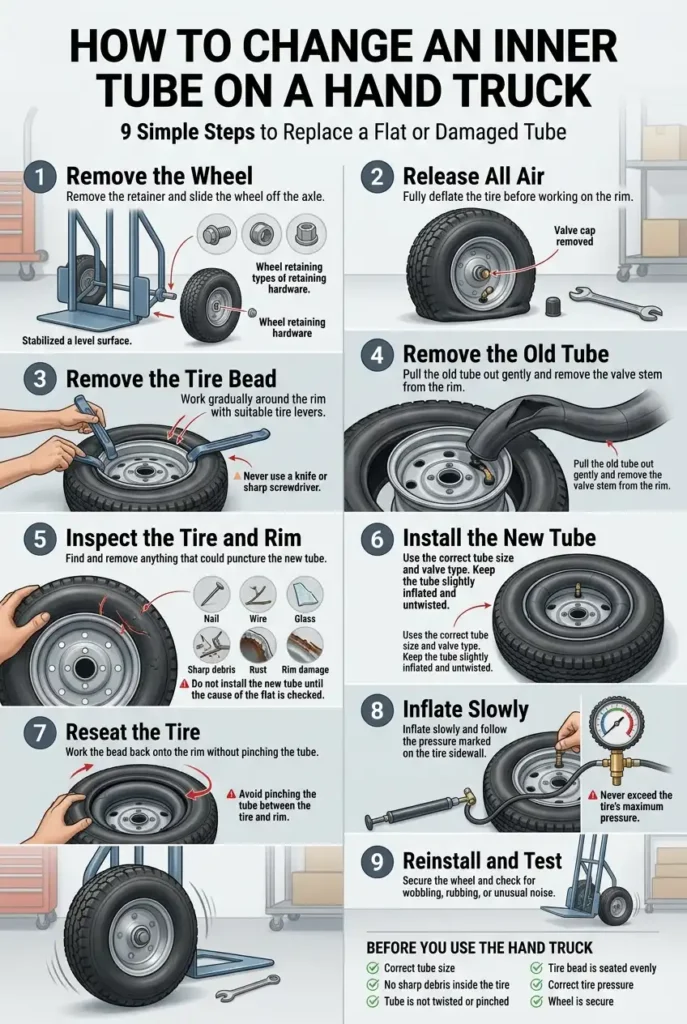
1. Remove and Stabilize the Hand Truck Wheel
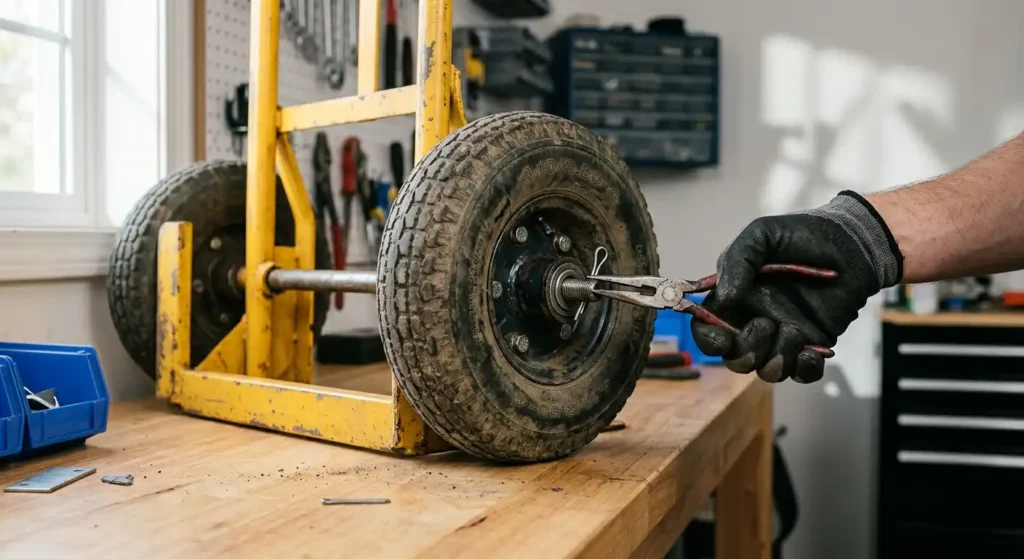
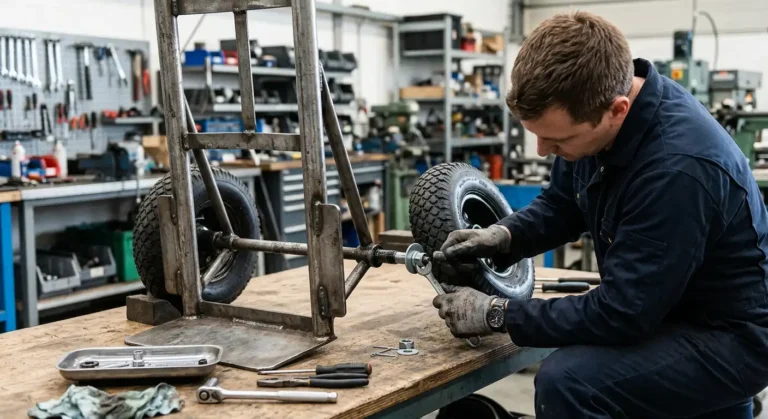
Clear all cargo from the hand truck. Lay the frame flat on a level floor or sturdy workbench so it cannot roll or tip over.
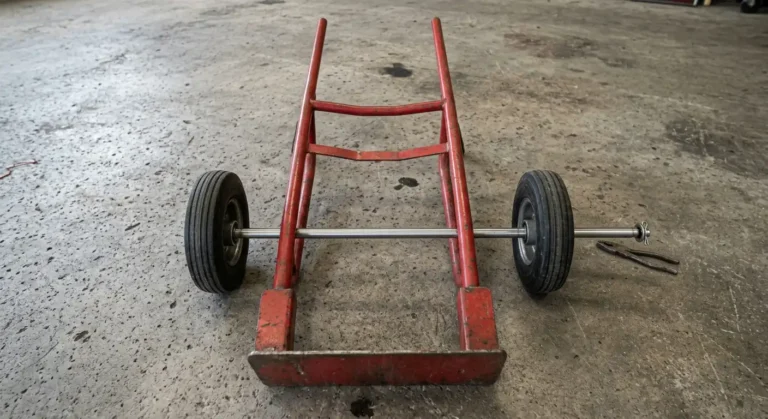
Examine the axle end to identify the wheel fastener. Hand trucks use various retainers depending on the brand and model. Common examples include cotter pins, retaining rings, lock nuts, or push-on axle caps.
Remove the retainer carefully without bending the axle. If your hand truck uses a friction fit cap, learning how to remove an axle cap on a hand truck prevents damage to the cap and axle end. Slide the wheel off the axle spindle along with any spacing washers.
Keep the hardware organized so you can reinstall everything in the original order. If your hub or bearings are severely worn, you can review our full guide on how to remove a hand truck wheel for extra troubleshooting tips.
2. Release All Air From the Tire
The tire must be completely flat before you work on the rim.
Unscrew the plastic valve cap. Depress the small pin in the center of the valve stem using a valve core tool, the back of a pressure gauge, or a small blunt tool. Let all residual air hiss out. If you have a valve core tool, remove the valve core entirely. This ensures the tube stays completely flat while you work.
3. Remove the Tire From the Rim
If your wheel uses a two piece split rim, unbolt the rim halves following the manufacturer instructions. For standard one piece rims, you must unseat the tire bead.
Press down firmly on the tire sidewall with your hands or boots to break the bead away from the rim edge. Push the bead toward the sunken center drop of the rim.
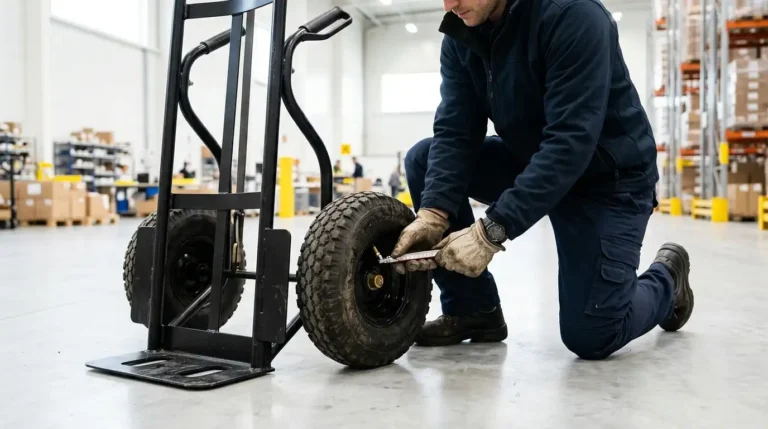
Insert a rounded tire lever under the tire bead. Pry the edge of the tire up and over the rim lip. Insert your second tire lever a few inches away and pry the next section over the lip. Work gradually around the perimeter until one full side of the tire sits outside the rim. Never use sharp screwdrivers or knives. Sharp tools can slice the tire bead, scratch the rim, or puncture your new tube.
4. Remove the Old Inner Tube
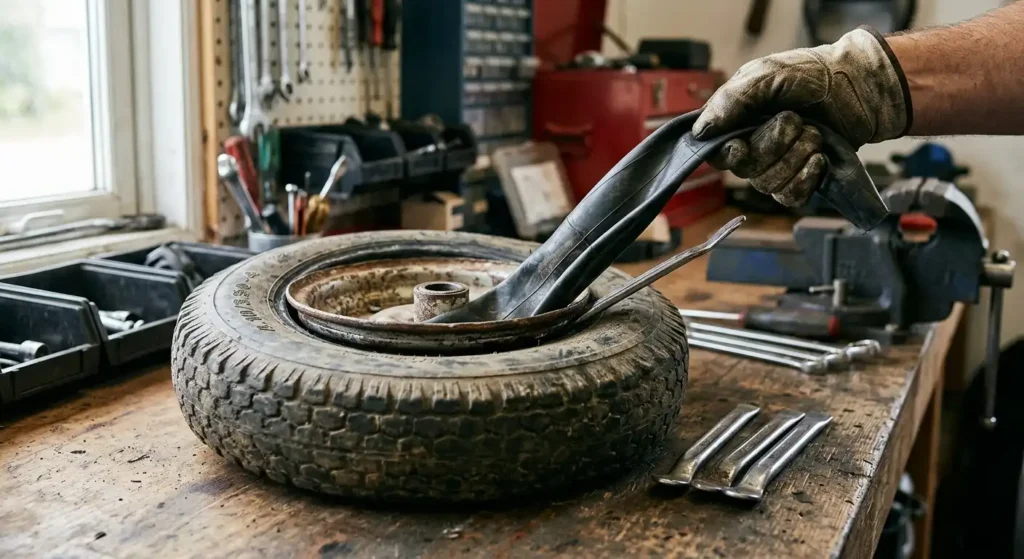
Reach inside the tire casing and grasp the old inner tube.
Push the valve stem down through the opening in the rim. Lift the tube out from inside the tire cavity. Pull gently so you do not tear the valve stem base against the metal rim hole. Set the damaged tube aside.
5. Inspect the Tire and Rim
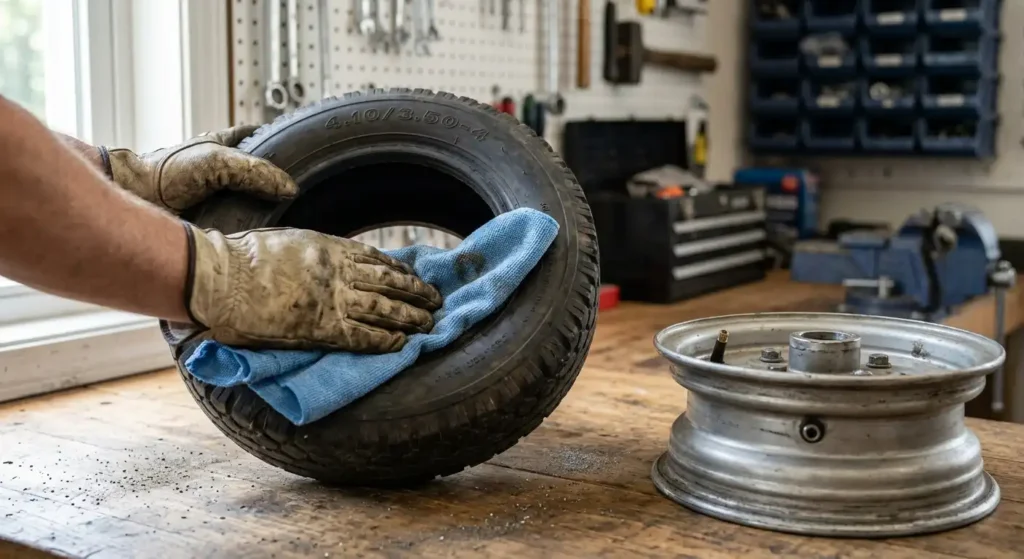
Do not install a new tube until you find what caused the original puncture. Failing to inspect the wheel will result in an immediate flat.
Carefully wipe a rag along the inside surface of the tire casing. Using a rag protects your fingers from hidden wire, nails, or shards of glass. Inspect the outer tread and sidewalls for embedded thorns, sharp debris, cuts, or foreign objects. Remove any debris you find with pliers.
Check the wheel rim. Inspect the valve stem hole for metal burrs or sharp edges. Look for heavy rust, cracks, or rim dents that could cut rubber. Smooth down rough metal spots with fine sandpaper or a small file.
6. Prepare and Install the New Inner Tube
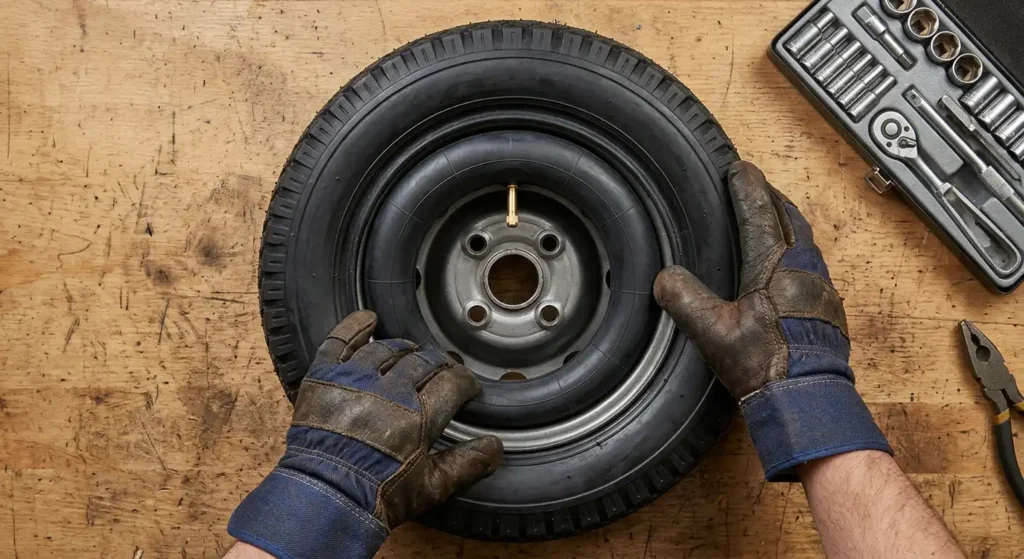
Check the numbers on your new tube to confirm it matches the tire markings. Add just enough air with a hand pump so the tube takes on a soft round shape. Do not inflate it until it stretches tight. A little air keeps the tube from twisting or bunching during installation.
Push the valve stem straight through the rim hole so it sits upright without binding. Feed the rest of the tube evenly into the tire cavity. Smooth it flat with your fingers all the way around the wheel. Make sure the rubber is not twisted or pinched beneath the rim lip.
7. Put the Tire Back Onto the Rim
Work the outer tire bead back over the rim lip using your hands. Start opposite the valve stem and push the tire down into the center drop of the rim.
As you reach the final tight section, push the tire bead over the rim using steady hand pressure. If you must use a tire lever for the last few inches, use extreme care. Tilt the tool gently so the tip does not catch or pinch the inner tube against the steel rim.
8. Inflate the Tire Carefully
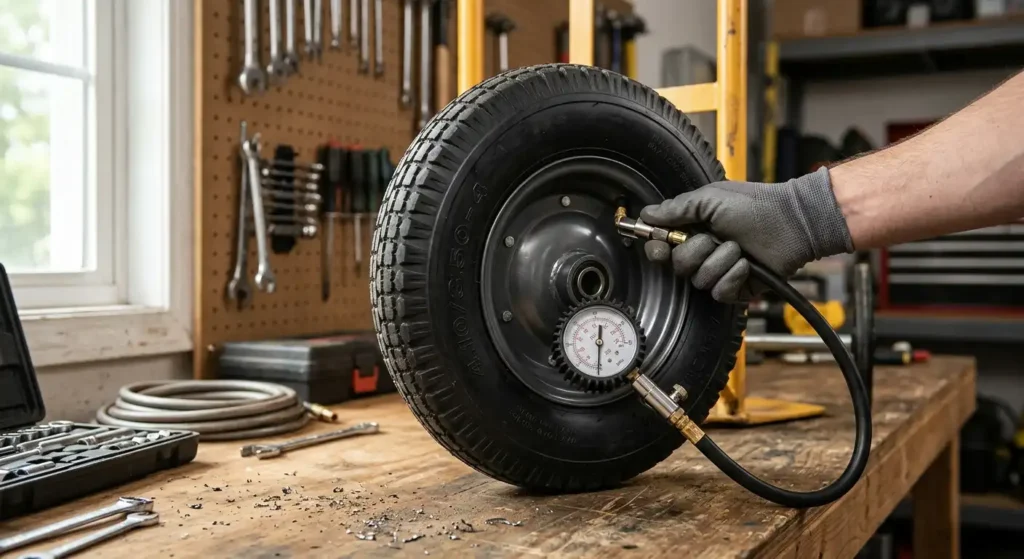
Check both sides of the wheel to verify the tire bead sits evenly around the rim. The valve stem should point straight out, not angled sideways.
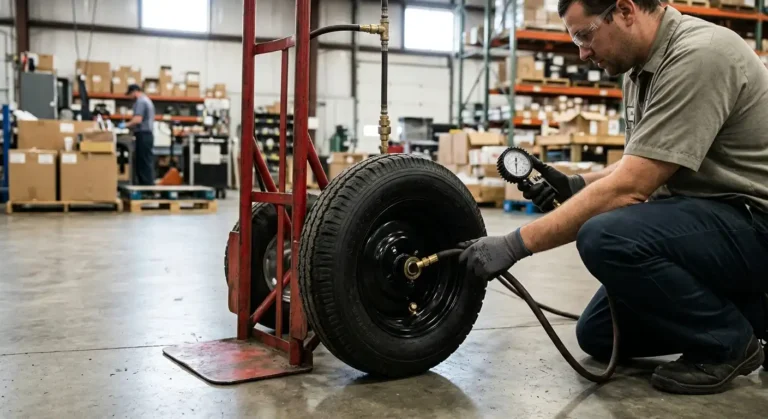
Add air slowly using a hand pump or low pressure air supply. Stop periodically to check the bead seating. Read the exact pressure rating molded onto your tire sidewall. Inflate the tire to that specification using an accurate pressure gauge. Never exceed the maximum pressure listed on the tire. For more details on maintaining correct inflation for heavy loads, read our guide on hand truck tire pressure.
9. Reinstall and Test the Wheel
Slide the wheel back onto the axle spindle. Replace any washers, spacers, and retaining hardware in their original positions. Fasten the retainer securely so the wheel cannot slide off during operation.
Spin the wheel by hand while the hand truck rests on the ground. The tire should rotate freely without wobbling, rubbing the frame, or making grinding noises. Test the hand truck by rolling it across the floor unloaded before putting it back into daily service.
How to Choose the Right Inner Tube?
Hand truck inner tubes come in specific sizes and valve configurations. Check the size numbers molded into your tire sidewall, such as 4.10/3.50-4 or 10×3.00-4. Buy a tube that explicitly lists that tire size.
Pay attention to the valve stem. Hand truck wheels commonly use either straight valve stems or angled stems bent at a 45 or 90 degree angle. An angled stem makes reaching the valve easy on small, deep dish rims. Make sure the replacement stem angle matches your wheel clearance.
Why Does a Hand Truck Inner Tube Keep Going Flat?
If your hand truck tire goes flat repeatedly, look for these common issues:
- An undetected thorn, staple, or metal wire still lodged in the tire casing
- Pinching the tube between the tire bead and rim during installation
- A rough metal burr or rust flake on the rim cutting into the tube
- Using the wrong tube size, which stretches the rubber too thin
- A leaking valve core or cracked valve stem base
- Operating the hand truck with very low air pressure, which causes the tire to slip and rip the valve stem
When Should You Replace the Tire Instead of the Inner Tube?
A new tube cannot solve structural tire damage. If your tire has deep tread cuts, visible internal cords, broken bead wires, or severe dry rot cracking along the sidewall, you need a new tire. Severely weakened tires can blow out under heavy loads even with a fresh inner tube. When the rubber casing is compromised, learn how to change a hand truck tire to restore proper support and safety.
Frequently Asked Questions
Yes. If the tire rubber, tread, and sidewalls are structurally sound and free from large cuts, installing a new tube is an effective repair.
Read the tire size stamped on the tire sidewall. Match those exact dimensions when purchasing your replacement tube.
No. The replacement tube must match your tire dimensions and have the correct valve stem angle to fit through your rim opening without binding.
A tiny nail or wire may still be stuck inside the tire tread, or the tube was pinched by a tire lever during installation.
Yes. Removing the wheel allows you to safely break the tire bead, inspect the rim, and position the valve stem without damaging the axle.
Check the tire sidewall for the manufacturer specification. Never guess a number or exceed the maximum pressure stamped on the tire.
A durable inner tube repair relies on matching the tire size, cleaning out sharp debris, preventing pinches during assembly, and inflating to the tire sidewall specification. Taking a few extra minutes to inspect your wheel components keeps your hand truck rolling smoothly and prevents repeat flats.