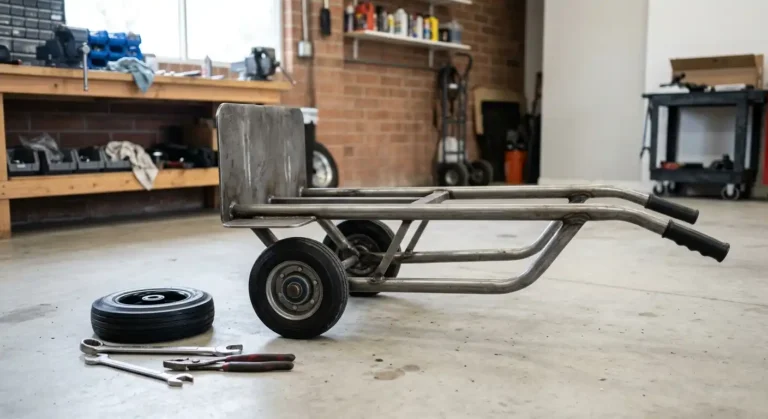

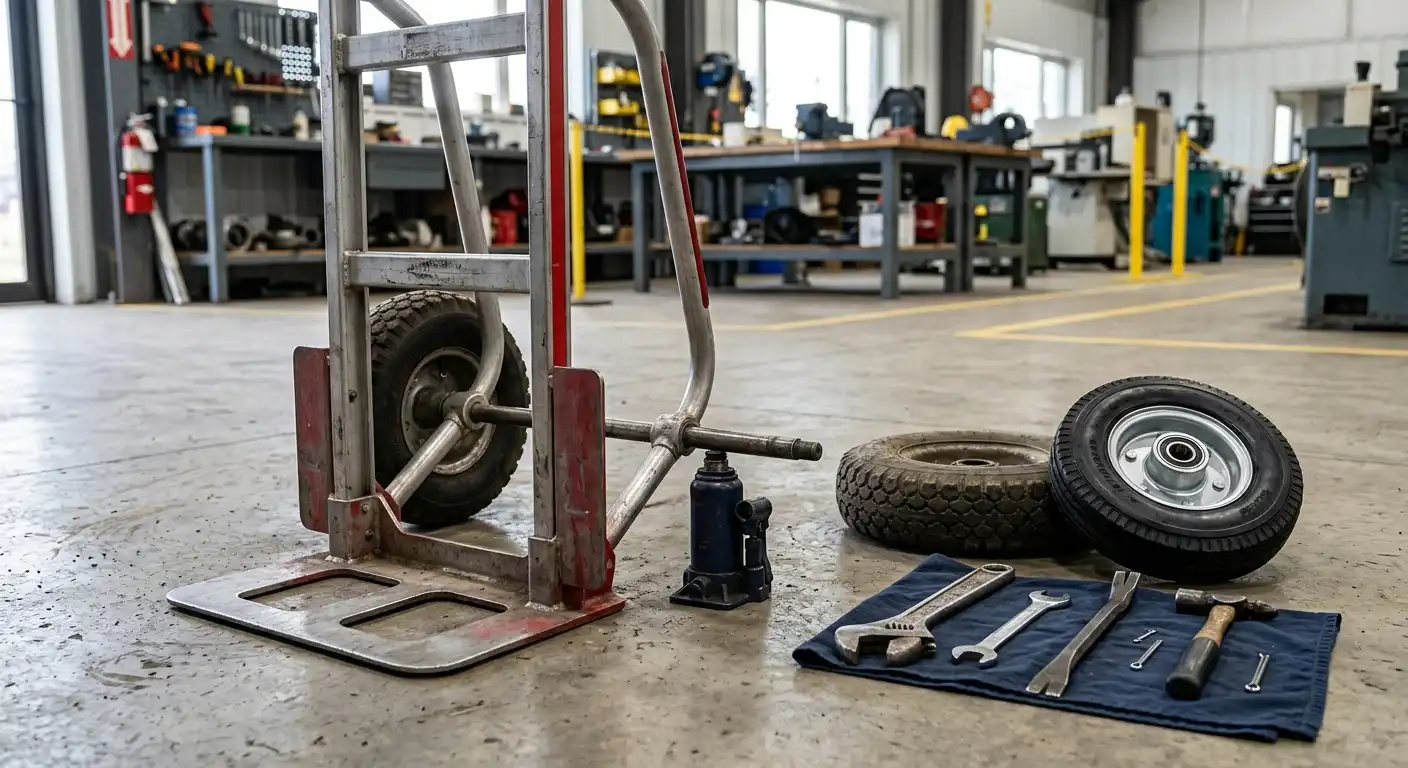
Replacing a damaged or worn wheel on your Milwaukee hand truck is a fast repair that saves you from buying a completely new dolly. In most cases, you only need a few basic hand tools and the correct replacement wheel to get your equipment moving smoothly again.
The exact replacement steps depend on the specific configuration of your Milwaukee hand truck. Documented Milwaukee models use different hardware to hold the wheel on the axle. Some configurations secure the wheel with a press-fit retaining ring, while other models use a standard cotter pin. Identifying your specific hardware setup first ensures you complete the job quickly and safely.
Quick Answer: To replace a wheel on a Milwaukee hand truck, position the frame securely and check if the wheel uses a retaining ring or a cotter pin. Remove the retaining hardware, slide the old wheel off the axle, inspect the shaft for damage, slide on the new wheel with its washer, secure the hardware, and test wheel rotation.
Check our general guide on how to replace hand truck wheels.
What You Need to Replace the Wheel?
The tools and parts you need depend directly on how your Milwaukee hand truck secures its wheels. Gather these items before you begin:
- Correct replacement wheel or tire assembly
- Matching axle washer, if required by your model
- Replacement retaining ring, if your unit uses a ring configuration
- Replacement cotter pin, if your unit uses a pin configuration
- Standard pliers or needle nose pliers
- Flathead screwdriver or pry tool for hardware removal
- Hammer
- 3/4 inch socket or similar cylindrical metal tool for retaining ring installation
- Safety glasses and work gloves
Before You Buy a Replacement Wheel
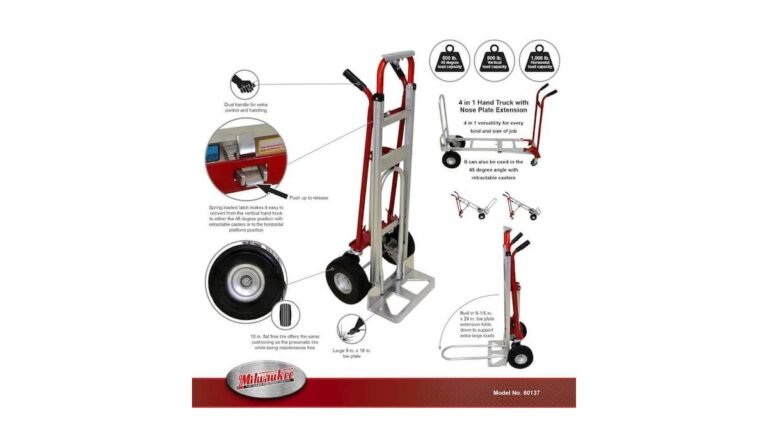
Do not buy a new wheel until you check the exact setup on your existing Milwaukee hand truck. Hand trucks in the Milwaukee lineup feature different frame designs, capacities, and axle setups.
Before ordering a replacement, check these key details:
- Axle diameter: Measure your axle diameter to ensure the center bore of the new wheel hub fits onto the shaft without slipping or binding.
- Hub width: Measure the width of the wheel hub through the center to ensure enough axle length remains exposed for the retaining hardware.
- Tire construction: Decide between pneumatic air-filled tires, solid puncture-proof tires, or flat-free microcellular foam tires based on your work environment.
- Wheel diameter: Confirm whether your hand truck uses 8 inch wheels, 10 inch wheels, or another specific size.
- Hardware type: Check whether your axle requires a cotter pin through a drilled hole or a retaining ring pressed over the end of the shaft.
Always compare the measurements of your old wheel and the information in your manufacturer manual against the replacement part specifications.
How to Replace a Milwaukee Hand Truck Wheel?
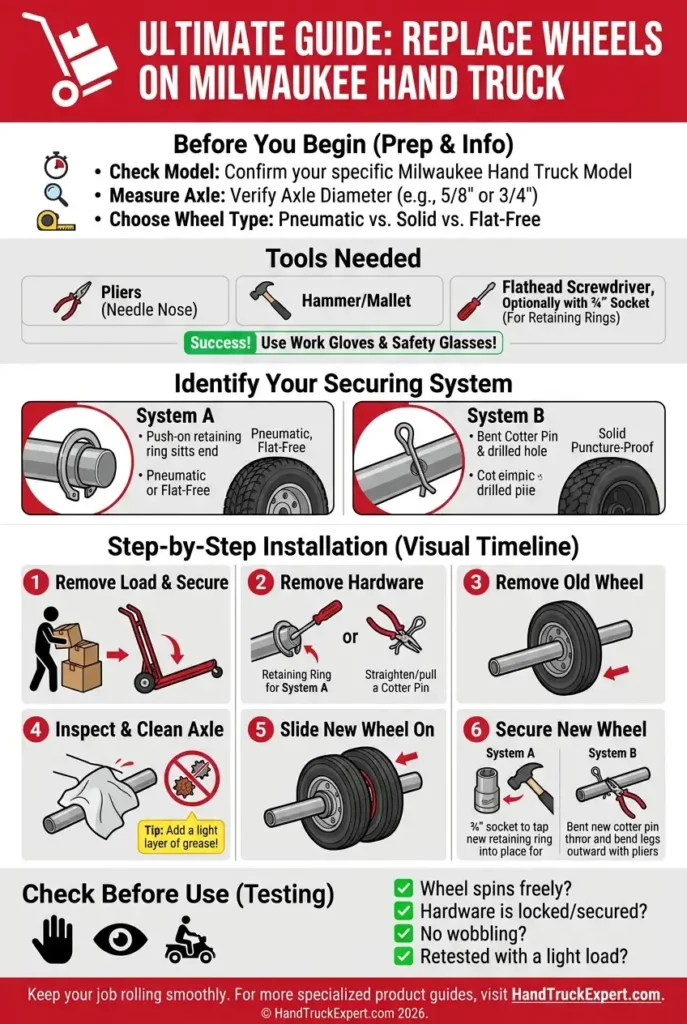
Follow these step-by-step instructions to remove the old wheel and install your new replacement safely.
1. Place the Hand Truck on a Stable Surface
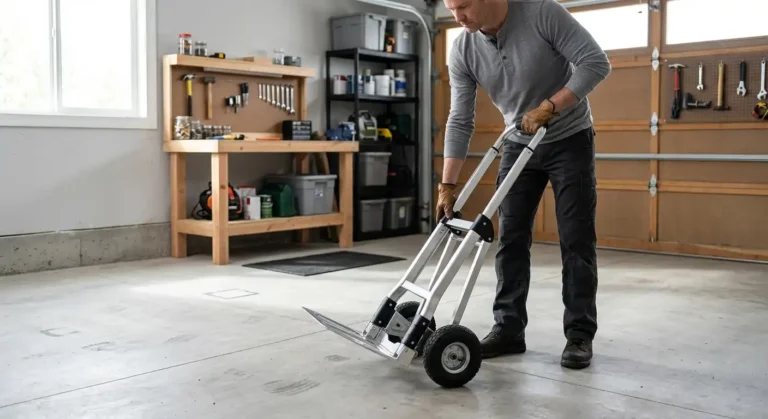
Clear all cargo and boxes off the hand truck before you start working. Lay the hand truck flat on its back on a clean, level floor or work table, with the nose plate pointing up. This position keeps the frame completely still and prevents the axle from shifting while you work.
2. Identify How the Wheel Is Secured
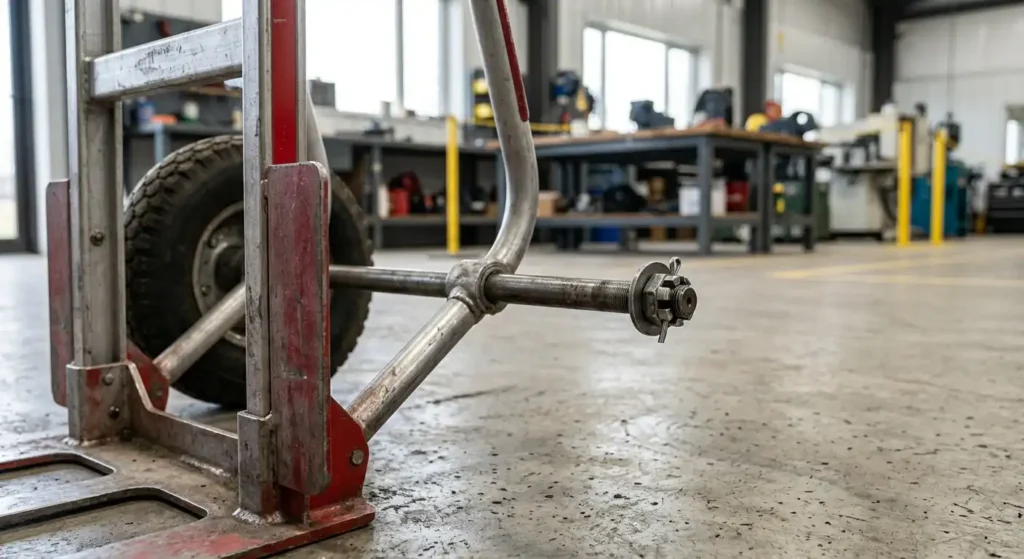
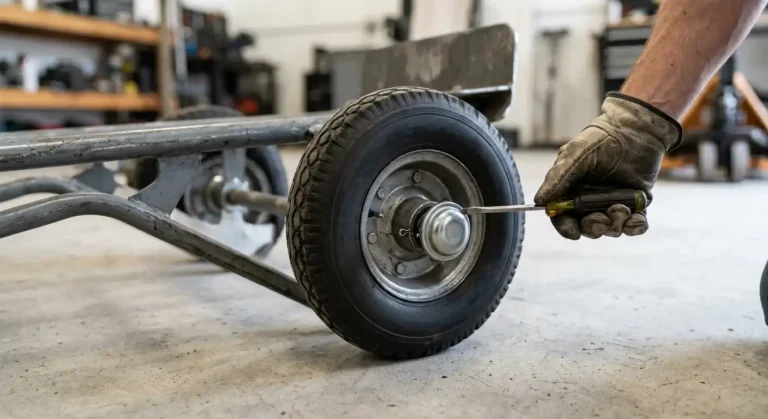
Look closely at the outer end of the axle next to the wheel hub. Milwaukee hand truck wheel assemblies can use different types of retaining hardware. Depending on the specific model or wheel configuration, you may find a retaining ring or a cotter pin.
- Retaining Ring: A solid metal push ring fitted over the bare end of the axle shaft.
- Cotter Pin: A metal split pin inserted through a drilled hole near the end of the axle and bent outward to stay in place.
Do not attempt to pull or hammer the hardware until you verify which securing system your hand truck has.
3. Remove the Retaining Ring or Cotter Pin
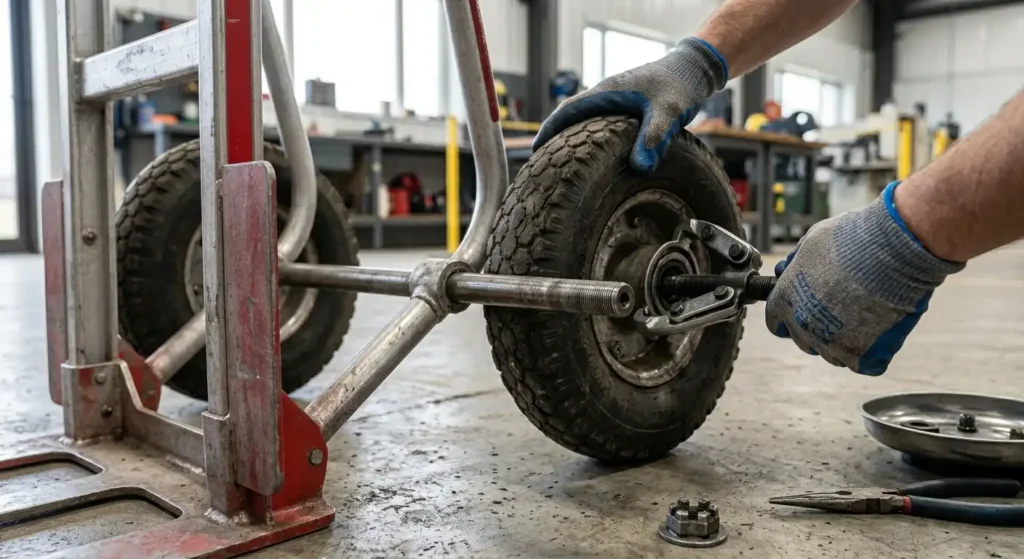
Put on safety glasses before removing the hardware.
- For Cotter Pins: Use needle nose pliers to straighten the bent legs of the cotter pin. Once straight, grip the head of the pin and pull it straight out of the axle hole. Set the pin aside.
- For Retaining Rings: Use a flathead screwdriver or retaining ring removal tool to carefully pry under the edge of the ring. Work around the circumference of the axle evenly until the ring slides off the end of the shaft. Avoid damaging the axle surface while prying.
4. Slide the Old Wheel Off the Axle
With the retaining hardware removed, grasp the tire firmly and pull it straight off the axle. If your hand truck uses a washer between the wheel and the retaining hardware, slide that off as well.
If the wheel feels stuck, check the axle for accumulated dirt, dried grease, rust, or metal burrs. Clean off any loose debris rather than forcing or hammering the wheel off the frame.
5. Inspect the Axle and Hardware
Take a moment to examine the bare axle shaft before sliding on the new part. Installing a new wheel on a damaged frame will cause uneven wear and poor handling.
Look for:
- Bends or cracks in the axle shaft
- Deep grooves or heavy wear along the bearing contact area
- Heavy rust or corrosion
- Enlarged cotter pin holes or distorted axle ends
- Worn or bent axle washers
Wipe the axle clean with a dry rag. If the retaining ring or cotter pin shows signs of fatigue, bending, or metal stress, replace it with new hardware rather than reusing the old piece.
6. Install the New Wheel
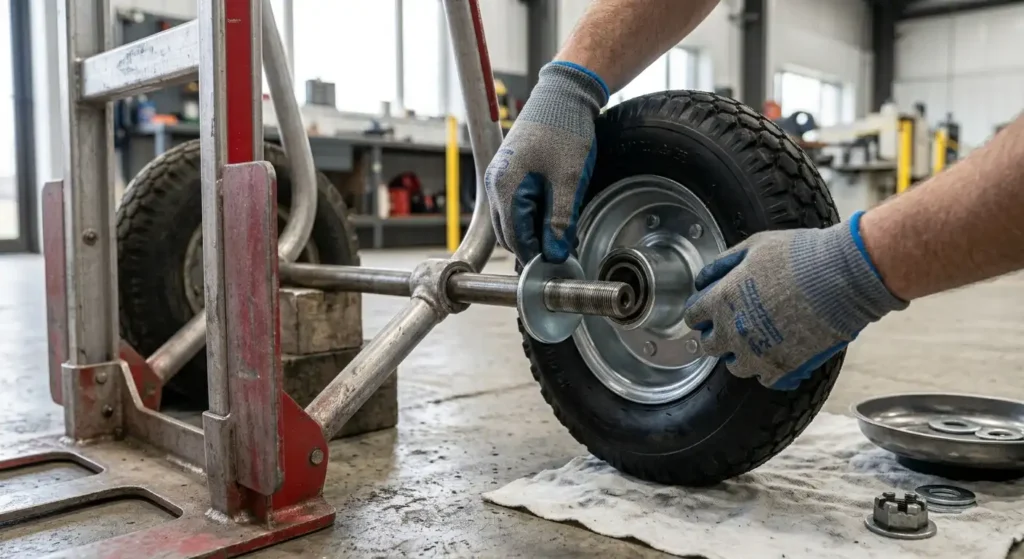
Slide the replacement wheel onto the axle shaft with the long side of the hub facing the correct direction, matching the original orientation. Push the wheel inward until it seats fully against the inner axle stop.
If your specific Milwaukee configuration uses an axle washer, slide the washer onto the axle immediately after the wheel so it rests against the outer face of the hub.
7. Secure the New Wheel
Secure the wheel according to the specific method designed for your model.
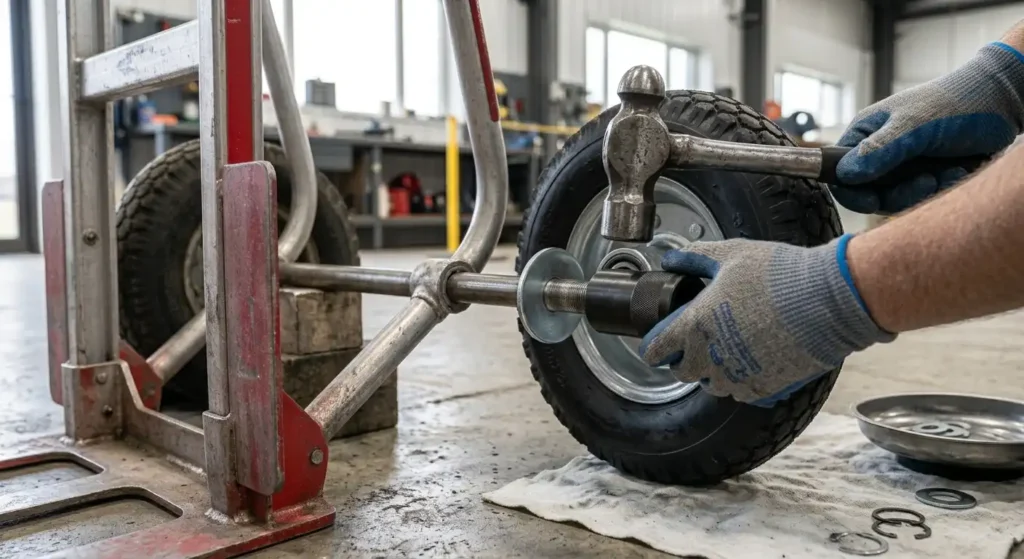
Retaining Ring Method
For documented 10 inch flat free and 10 inch pneumatic Milwaukee configurations that use retaining rings:
- Place the new retaining ring squarely against the outer end of the axle.
- Place a cylindrical support, such as a 3/4 inch deep socket, directly over the retaining ring so the rim of the socket rests flat against the ring.
- Tap the end of the socket gently and evenly with a hammer.
- Drive the retaining ring along the axle until it locks firmly into place against the washer and hub.
Cotter Pin Method
For documented Milwaukee configurations that use cotter pins, such as solid puncture-proof tire setups:
- Slide the wheel and washer past the drilled hole in the axle.
- Insert the straight legs of a new cotter pin through the axle hole.
- Push the pin through until the loop head rests flat against the axle.
- Use pliers to bend the split legs in opposite directions around the axle shaft to lock the pin securely.
8. Check the Wheel Before Using the Hand Truck
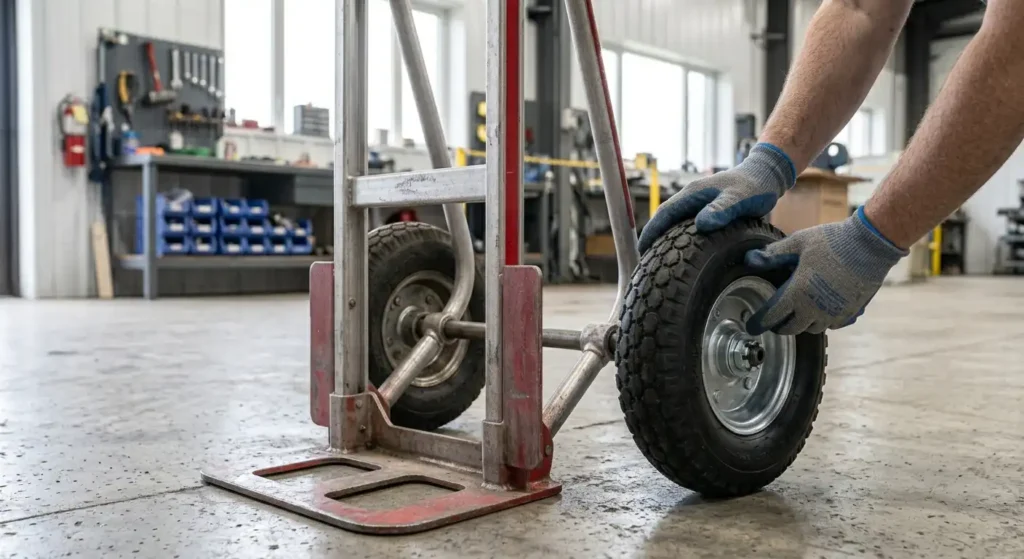
Before putting the hand truck back to work, verify the quality of the installation:
- Spin the wheel by hand to ensure it turns smoothly without binding.
- Check for excessive side-to-side play or wobbling along the axle.
- Confirm the wheel does not rub against the hand truck frame or stair glides.
- Verify the cotter pin or retaining ring is completely seated and cannot slip off.
- Stand the hand truck upright and test it with a light load across a level surface before hauling heavy cargo.
How to Know if a Milwaukee Hand Truck Wheel Needs Replacement?
Hand truck wheels wear out over time from rough surfaces, heavy loads, and outdoor storage. Inspect your wheels regularly to catch issues early.
Common signs you need a replacement wheel include:
- Deep cracks, dry rot, or chunks missing from solid rubber or foam tread
- Frequent flat tires caused by torn casings or punctured inner tubes
- Broken, cracked, or deformed plastic or metal wheel hubs
- Severe wheel wobble caused by worn-out internal hub bearings
- A wheel that drags, squeaks heavily, or seizes up under moderate weight
Can You Replace Just the Tire?
You do not always need to replace the entire wheel assembly. The right repair depends on how the wheel is built and what part is broken.
- Tube Replacement: On pneumatic tires with an intact outer tread and undamaged hub, replacing only the internal rubber tube is an affordable fix for air leaks.
- Tire Replacement: If your wheel features a two-piece split rim held together by bolts, you can unbolt the rim halves and replace only the outer tire casing.
- Complete Wheel Replacement: If your wheel has a sealed or single-piece rim, damaged bearings, or a cracked hub, installing a complete pre-assembled wheel is the safest and fastest solution.
How to Choose the Correct Milwaukee Replacement Wheel?
To make sure your new wheel fits your hand truck correctly, check the following details:
- Hub Style and Offset: Check if your existing wheel has a centered hub or an offset hub where one side extends farther out.
- Bore Diameter: Measure the inner hole of the wheel bearing to match your axle diameter, commonly 5/8 inch or 3/4 inch on standard hand trucks. Check our hand truck wheel size guide to understand the diameter.
- Tire Type: Choose pneumatic tires for smooth rolling over gravel and rough terrain, or choose flat-free tires for warehouses and job sites with nails and sharp debris. Review our guide to choose between pneumatic vs flat free hand truck tires.
- Load Rating: Make sure the replacement wheel is rated appropriately for the application and is compatible with the hand truck’s specified capacity. Do not increase the hand truck’s load capacity simply by installing higher rated wheels. To understand load rating, check our hand truck weight capacity ratings guide.
Common Mistakes to Avoid
Avoid these frequent mistakes when replacing a hand truck wheel:
- Ordering a replacement wheel without measuring the axle diameter and hub length.
- Assuming all Milwaukee hand trucks use the exact same wheel size and hardware.
- Reusing bent cotter pins or loose retaining rings that could slide off during transport.
- Leaving off the axle washer when your configuration specifies one.
- Installing a new wheel over a bent or heavily rusted axle shaft.
- Striking the wheel hub directly with a hammer instead of using a socket on the retaining ring.
- Loading the hand truck with heavy cargo without checking the wheel rotation first.
Frequently Asked Questions
Yes. Replacing a hand truck wheel is a basic maintenance task that requires only standard hand tools like pliers, a hammer, and a socket.
First, remove the securing hardware from the end of the axle by pulling out the cotter pin or carefully prying off the retaining ring. Once the hardware and washer are off, slide the wheel straight off the shaft.
Milwaukee hand trucks use different wheel sizes depending on the specific model design. Many common models use 8 inch or 10 inch wheels in pneumatic, solid, or flat-free styles. Always measure your current wheel diameter and axle size before buying a replacement.
Check your hand truck model documentation and measure your existing wheel. Match the outer diameter, axle bore size, hub width, and securing method before ordering.
Yes. If your hand truck wheel uses a split metal rim and only the tire or inner tube is damaged, you can replace just the tire or tube. If the hub or bearing is damaged, replace the entire wheel assembly.